SANDING & REFINISHING... back to new
If your wood floors are looking worse for wear and need a complete restoration, then this is the service you need. Sanding and Refinishing involves taking your hardwood back down to bare wood and applying brand new coatings. Because of advances in finish technology, your floors will end up looking better and being far more durable than they were originally.


Here at Dustless Hardwood Floors, we love nothing more than seeing the difference a beautifully restored hardwood floor can make to a home. It’s very satisfying seeing the smiles on our clients' faces when they see their floors transformation. We can’t wait to see yours.
Below you’ll be able to see the various steps involved in a full wood floor restoration. At the bottom of the page we have links to the most common questions we get asked about the sanding and refinishing process.
How we do it...
Below is an overview of the process we use to transform your hardwood floors.
STEP 1Preparing the
rooms, floors
and equipment
Before we touch our sanders, we make sure any agreed upon repairs are taken care of, staples and nails are removed, ensure our machines are working properly and set up the dustless equipment. You have a choice of the level of dust control you want. You can read more about that here. Then we sweep the rooms, vacuum them thoroughly and set up the sanding machines.

STEP 2Taking the
floors back to
bare wood
Next step is removing the old, worn out, damaged finish. We use a few different sanding machines with different grits of paper to take your flooring back to the bare wood. The grits used will depend on the type of finish you have and how difficult it is to remove. The big belt sander is the workhorse. Smaller sanders are used to sand areas the big machine can’t reach.

STEP 3Finer, more
detailed sanding
and filler
Because we need to use a rough grit in the previous step to remove the old finish, lots of scratches are left in your floor. We now need to use a series of finer sandpaper grits to remove them and gradually smooth your floor out, getting it ready for the new finish. In between the finer grits, if possible, we trowel fill your floor with putty (click here to see if your floor is a candidate).

STEP 4Finishing
touches and
clean up
After all the sanding with the machines is complete we need to do the final touches by hand. We use hand scrapers to reach the areas under radiators, along the trim and in corners that the sanders can’t reach. These are then hand sanded to match the final grit from the sanders. Then there’s lots of vacuuming and clean-up to get ready for the next step.

STEP 5Staining
and applying
the finish
If you want to change the color of your floor, this is the stage where we apply stain. You can read about the staining process here. After we stain, or not, we now start applying finish. The number of coats will depend on the finish system you chose. If you choose a multiple coat finish, we will apply this in stages over a couple of days, allowing time for each coat to dry.

Other important info
Every time you sand and refinish your floors, you are removing valuable wood from the top wear layer. Whether you have solid wood floors or engineered floors, they both have a limited amount of life. This means they can only be sanded a limited number of times.
Once the initial thickness is reduced down to the tongue (most floors have about ¼” of wear layer), your floors will weaken. That’s why we are very careful to only remove the absolute minimum amount of wood, while still providing you with a beautiful finished result.
Don’t end up with floors like this...
Unfortunately we are called out to quite a number of projects each month where the homeowners are disappointed with the results they have recieved from their “floor guy”. As mentioned above, you only have a certain amount of wood able to be removed. If an inexperienced person practices on your floor, you can be left with a result like in the photo on the left below...


Fortunately we were able to save this floor (many we see can’t be saved). You can see the result on the right above. But by doing this, decades of life was removed from the floor. The homeowner also had to move out twice and pay twice, once with the inexperienced guy, and then again for us to fix his work. Please do your research first and check references to make sure you don’t have to go through this.
Do you have antique wood floors?
Older floors here in New Jersey, those from 60 to 100+ years old, need extra special care when restoring them. Most of them have been sanded numerous times over the decades. A lot are now nearing the end of their life.


If you have one of these beautiful vintage floors, we urge you not to hire someone that will just grind them down and sand them to the end of their life. These floors need special techniques versus newer oak strip flooring. Yes, they may have deep scratches, bruises and other character marks, but there are other ways to repair these areas without sacrificing the entire thickness of the floor.
We love these vintage hardwood floors and really enjoy working on them. Over time, we’ve become very proficient and passionate about restoring them. If you would like someone with years of experience to treat your antique wood floors with the care they deserve, we’ll be a perfect match.
Do you have top nailed flooring?
We constantly have homeowners telling us that other contractors have said their top nailed floors can’t be sanded because of the exposed nails. Instead, they are told they need to be replaced. This is just not true in most of the cases we see.
Top nailed floors are unique in that they are fastened with nails from the top of the board... unlike tongue and groove flooring where the fasteners are hidden. But just because the nails are exposed and some are closer to the surface than others, doesn’t mean the floor has no life left in it. Over the life of your floor, it expands and contracts and this causes the nails to gradually move up over time. Many were never originally nailed in at the same depth either. So it’s not proper to judge a floors thickness just by the look of the nail heads alone. It’s the thickness of the wood that determines if there’s anything left to sand.


If you have been told it can’t be sanded by someone else, it’s well worth it to get a second opinion. Sanding and refinishing is much cheaper than a full floor replacement. We’re experts at restoring these type of floors. When we arrange a quote, we’ll discuss testing the thickness of your floor to let you know if they can be restored or not.
QUESTIONS... and detailed answers
- How many days does a standard sanding and refinishing project take?
- Can I stay home while you’re sanding and coating?
- How bad will the fumes and smell be? Will we have to move out while it’s drying?
- What choice of coatings do I have?
- What can be done about all the gaps between the floor boards?
- I have dark spots from water damage. Can they be repaired?
- Do the base shoe and/or baseboards need to be removed or replaced?
- Can you sand under the stove and fridge?
- I have deep scratches in my floor. Can you sand them all out?
- How long do the floors take to dry and when can we put our furniture back?
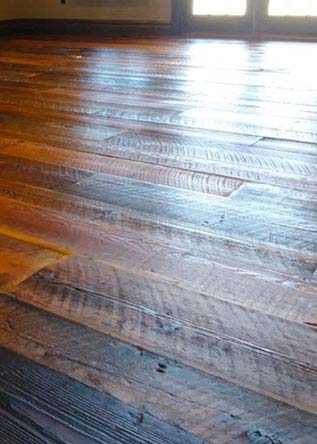
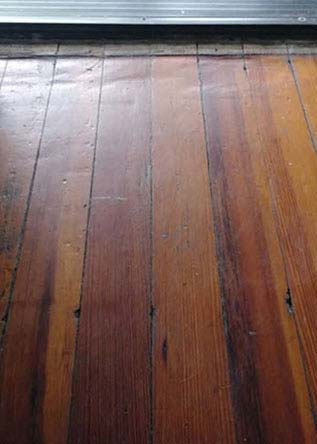
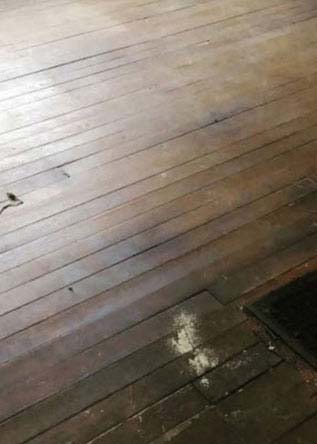
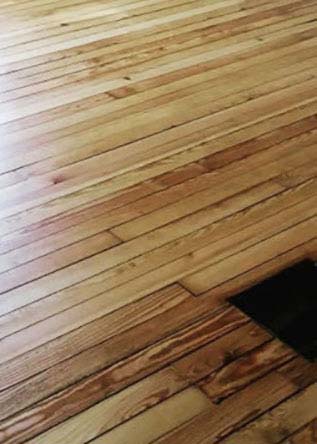
PHOTOS from past projects


HAPPY CLIENT feedback
The floors turned out amazing! We never expected that our old and beat-up wood floors could look so good. This company and Brian do excellent work and go above and beyond in the customer service area. I highly recommend them.Steve K - Collingswood, New Jersey | 5 Star Review on Yelp